Our friends at Trailtech have equipped our bikes with a?Voyager, the trail rider’s GPS, for our up and coming Summer Lake ride. I have ridden with my old Trailtech computer on my bike since I got my first KTM, an ’01 400 EXC. Back then, there was only one Trailtech computer, the Endurance, which I put on that bike to keep track of my hours, mileage and speed. ?When I sold the EXC, I kept the Trailtech and mounted it on my KTM 950 for a lighter and smaller speedo/odo that I was familiar with. Wouldn’t you know it, after years of service, the screen just faded away and the light didn’t come on anymore when the bike rolled. ?Normally, its never this simple, but I just had to throw another battery in and it was back in action!
Always been happy with my Trailtech, but I have been behind the times…
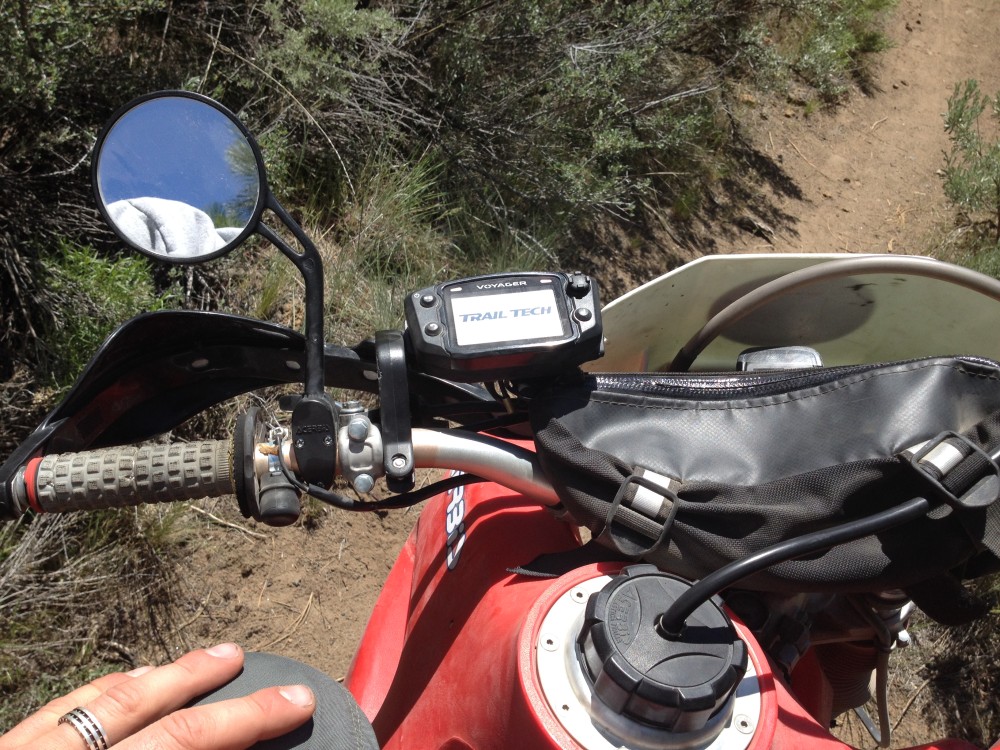
Trailtech has improved their computers over the years and now offer several models, including the GPS enabled Voyager. I had seen the Voyager at events and on other riders’ bikes, but had no first hand experience, so I was excited to get my hands on one and start capturing tracks! ?The package was complete with several pieces of hardware for mounting to 7/8′ and 1-1/8″ handle bars, several electrical cables for sensors and power, instructions for mounting all the cables, a miniSD chip to USB adapter and a CD with “Ride Leader”, Trailtech’s GPS mapping software for GPX files.
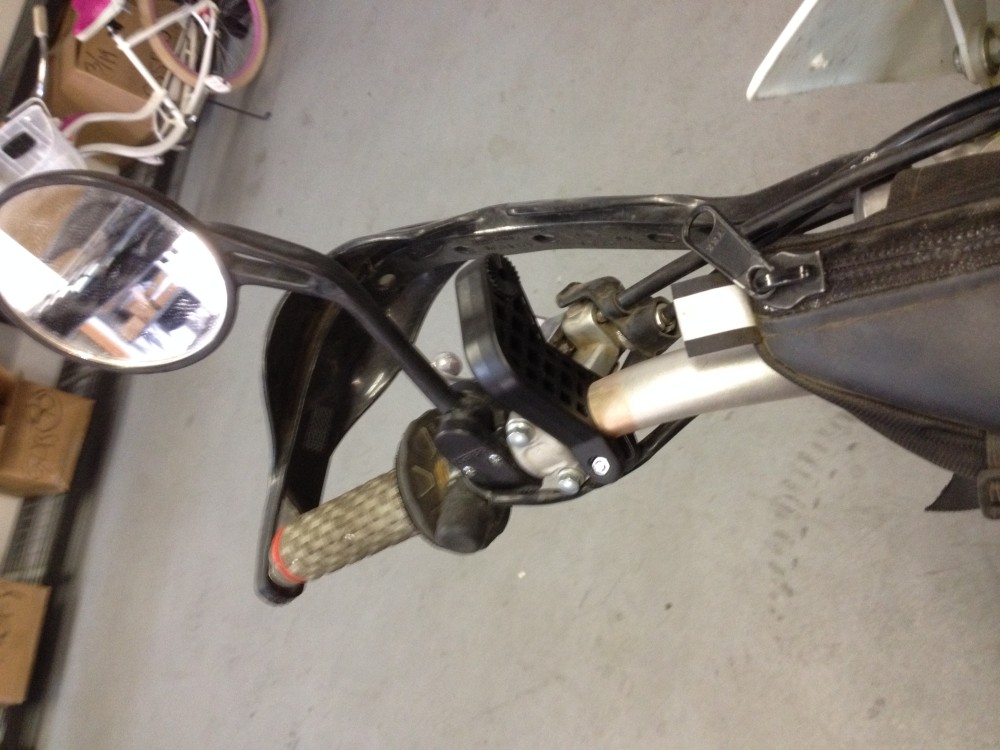
My plan was time limited so I decided to mount the Voyager to our Honda XR650R, attach the power and RPM cables, then go run the baby in GPS mode for Speedo and Tracks. ?The first thing to do was find room on the bars, then find convenient power to tap into.
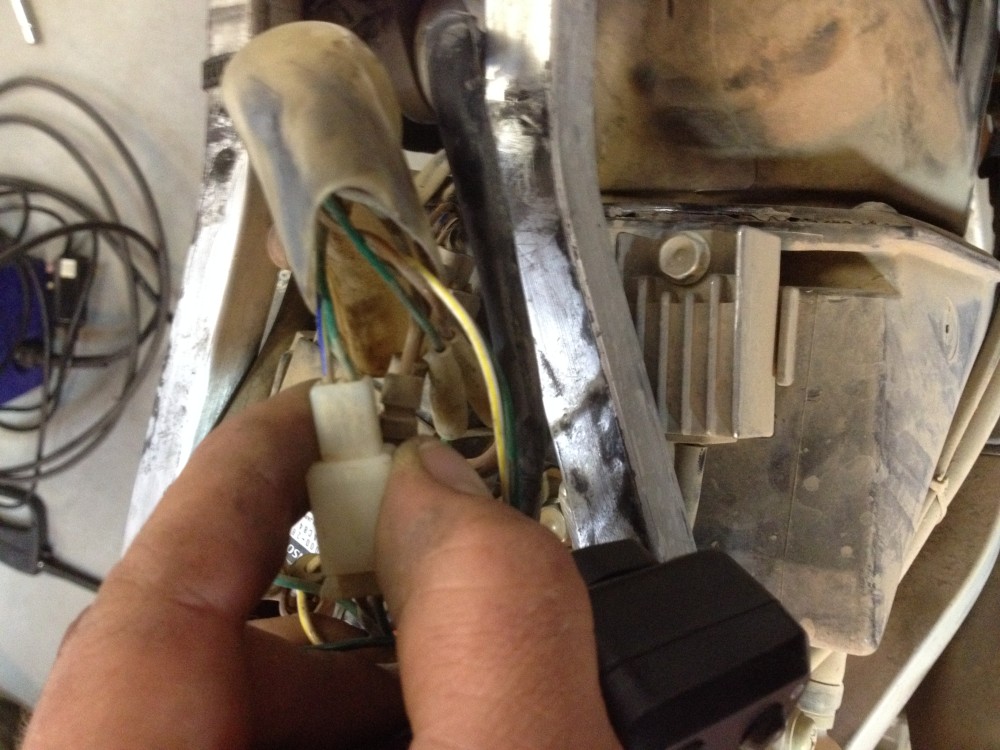
I checked the voltage regulator for wire colors and dug out the headlight plug to compare. ?The wires were easy to splice into and I used bullet connectors compatible with the existing wiring to make the junctions.
Once I hooked up power and the RPM sensor was wrapped around the spark plug lead, I was ready to button up the project and get down the trail.
After a few miles of action, I had breadcrumbs on the map screen and the unit was calculating average speed and time traveled. Stoked!
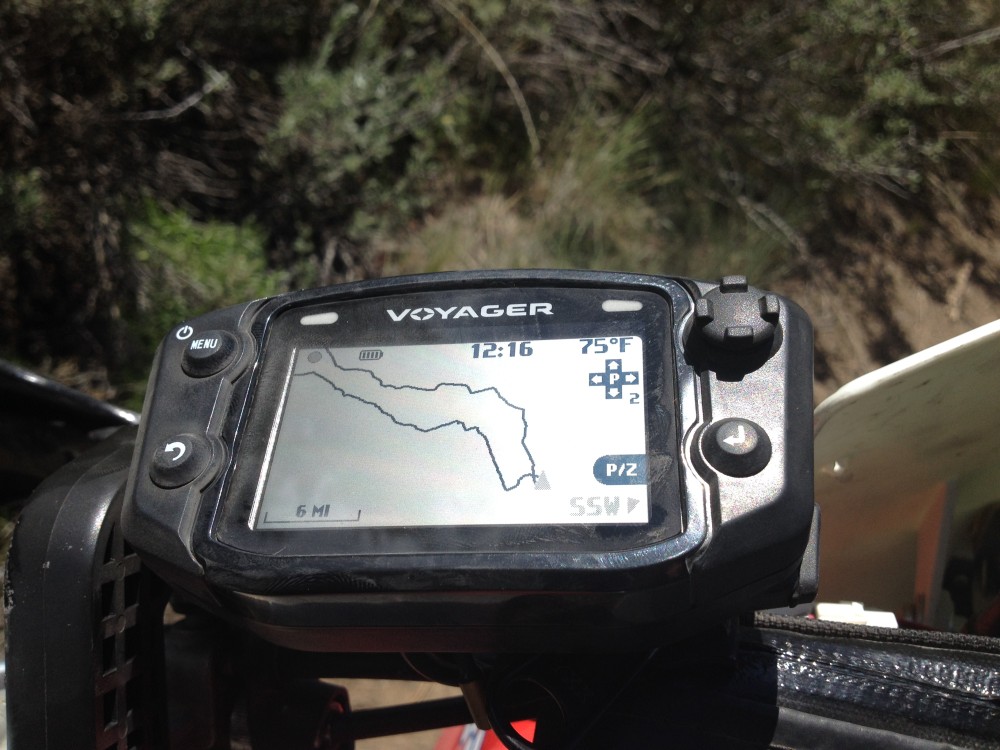
The best part was, all the ride stats were a click away and I could plainly see the route we traveled.

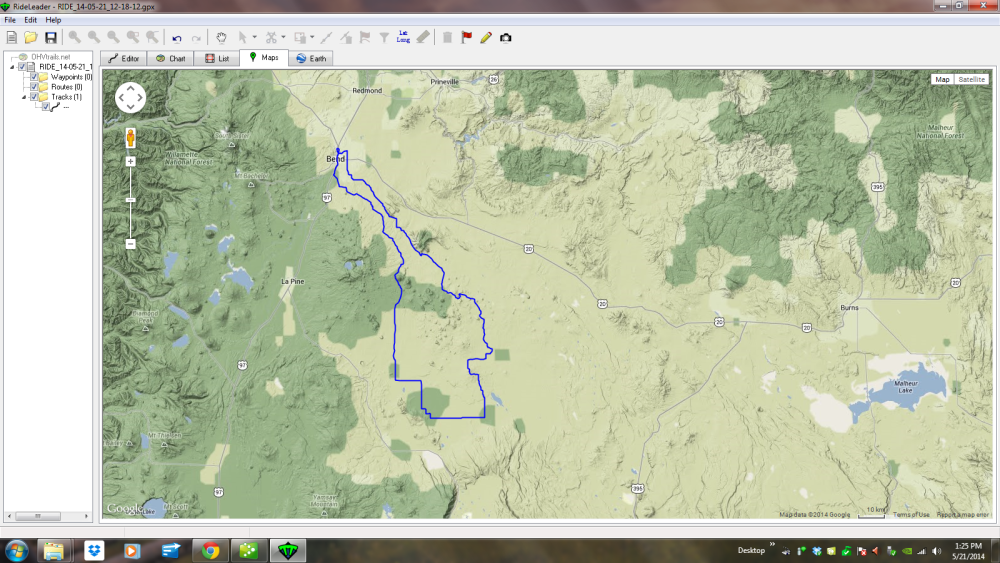
Back at the shop, I exported the ride to the on-board SD chip and plugged it into my computer. Opening Ride Leader and uploading the tracks from the SD chip were straight forward and the next thing I knew, there was our ride route, plotted across the map.
All in all a great experience and I look forward to capturing more tracks and navigating with the Voyager.
I still have a coolant temp and wheel speed sensors on the bench and will install them next time I take the tank off.